Stop and go
Well the last 6 months didn't really go to plan. Too much work, away all week, and too much lethargy, cold garage and lack of mojo on my part. It's been too easy to stay inside, by the fire, in the warm.


The gearbox oil change was easier, there's quite a lot of room around the gearbox - the cardboard tunnel is gone in favour of a set of alloy panels that form the shell of a console in the car. It looks like I should be able to unscrew a pane from the inside to get to the gearbox filler but I couldn't figure out how to do this without damage, and, to be honest, I'd make such a mess of the engine oil change that I thought I should keep my accidents away from the nice carpets! So I worked from the outside and underneath.

Life just gets in the way!
I started planning to change my job last year and its all come together now. It's a bit of a subtle change and from the outside it's no change. I'm still working for the same firm but now on a contract basis. Paid differently, more flexibility and the option to work on other projects.
The other change has been that I decided to buy a flat closer to work so I can cut out the commute and stop living in a hotel, which after 6+ years gets a bit old. I'm keeping Chinn Towers in Reading, this flat will just be a weekday bas and hopefully I can see a bit more of Mrs C and the growing clan.
OK enough of the excuses, what all this means initially is that I've got a month off work and a load of jobs to do to prepare for moving into a flat as well as stuff around the house and the Vitesse! My original plan was to spend the month on it exclusively but being at the hands of solicitors means those plans are changing! I'm still aiming to get it running by the start of May.
So, to the brakes - what a pain and a steep learning curve! I think I'm there now, three master cylinders rebuilt and everything reassembled, twice.
It's a tight fit to get the pedal box in the car, and it ain't easy to get at the nuts and bolts. I admit I swore a lot and walked away a couple of times.
This week I got back on it. I think I've got it all working now but it'll need a road test, when I get the car running! Twin master cylinders are a challenge but do make bleeding interesting, I do need to figure out the balance settings but that'll be easier when I can drive it. Although it all went together OK the first time, I had a sticky pedal, hence the second time. I'm still not convinced by the lack of an external return spring but I'm going to roll with it and see how it works when driving.
The other jobs done are:
An oil change. I wanted to see if there was any evidence of premature cam wear, any glitter in the oil, that may point to internal issues. You might remember that the car came to me with a history of cam issues. Well the oil was excellent, not the expected 4.5 litres but it was on the dipstick mark. I was expecting more because it's got an oil cooler and remote filter. Here's the sump plug, no detritus at all. no glitter in the oil and no fuel smells.
I also cut the Unipart GFE173 filter apart to see if there was any debris in there - I was looking for metal shavings and found none. I would have taken some photos but I have to admit, I got into a hell of a mess with all this and didn't want to get my (new) phone covered in oil!
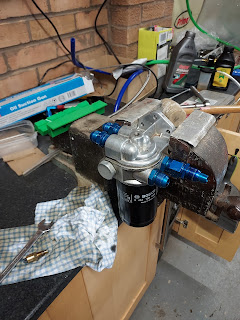
One of the challenges of this car is the packaging of the modifications - sometimes a compromise had to be made - the filter assemble for instance (below). It's hard up against the cut down engine bay valance and isn't fully mounted, you can't get your hand underneath it to unscrew the filter and the on;y thing keeping it upright is the stiffness of the pipes

Now I know this wasn't the finished installation, so I'll have to figure out a wat to securely mount it or find something different that allows an oil service without having to take the filter head off the car and take it to the bench.

This resulted in more dribbled oil :-(

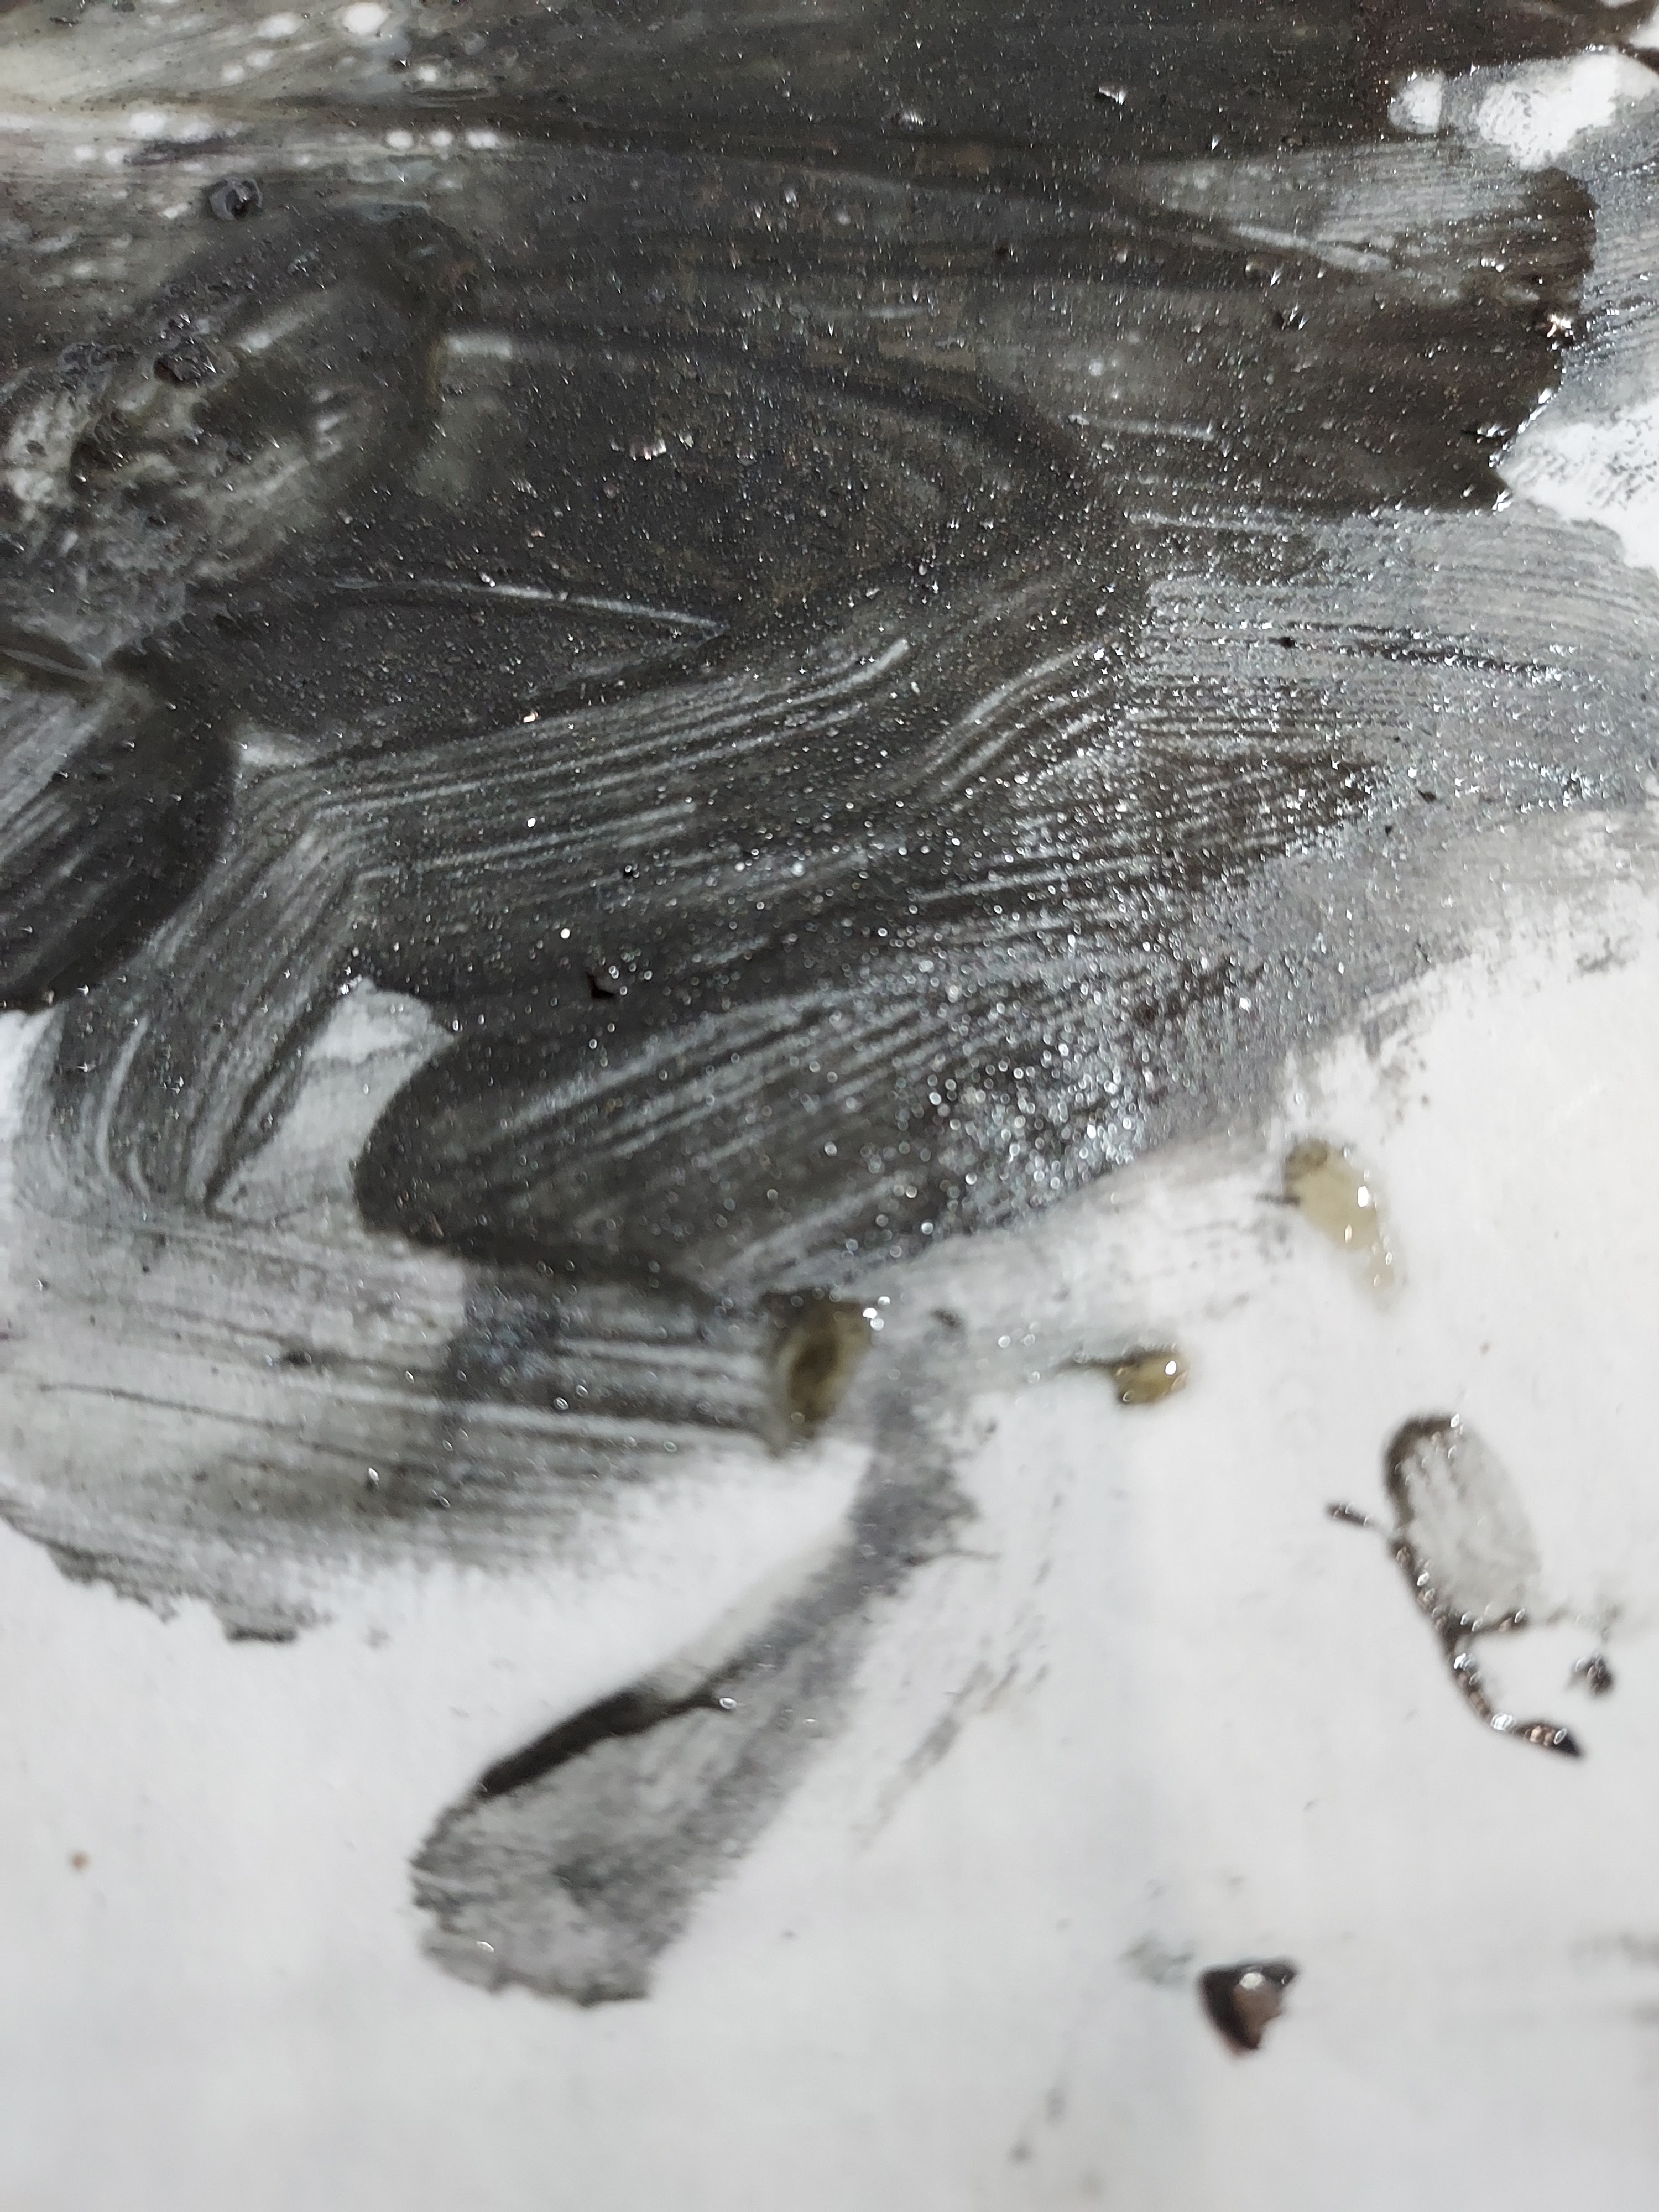
The magnetic drain came out like a Christmas tree, with a bit of chaff on it.


And that was as far as I got before 'domestic duties' intervened.

However, one smeared on a piece of paper, it was clear there were no big lumps and now teeth, although the solid piece at the bottom right of the page does look like a chip off a gear - it's small and I'm not going to worry about it.
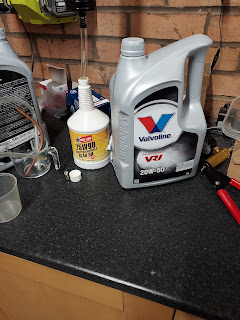
If you're wondering what fluids I used, I'm trying Valvoline 20w 50 in the engine and an old favourite of mine, 75W90 (used to be called MT90) in the gearbox, again synthetic. I've used this in all my previous cars, expensive but good. I may refresh this or at least have a look at it early in view of the above, I have a few bottles in stock

Next of the list:
- Flush the brake fluid through the rear circuit.
- Drain and replace the diff oil.
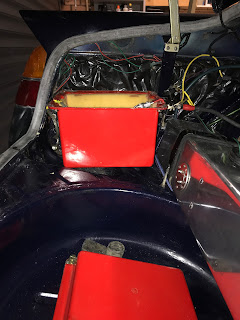
- Secure the battery - need to have a look at the boot mounted battery box, it makes the battery a tight fit (I can't actually get the battery to fit but it's the same as the one that the PO used so I am sure it will fit). The box needs more support, see below, might be woodworking time to make a temporary base for it.
- Spin the engine over and get the new oil circulating - I am worried that I'll forget and when I start it up, I'll ruin something!
- Get the dial gauge out and do some valve gear lift measuring.


Comments